I took the weekend off to be with my daughter and her boyfriend. We had a great time but now it's back to work.
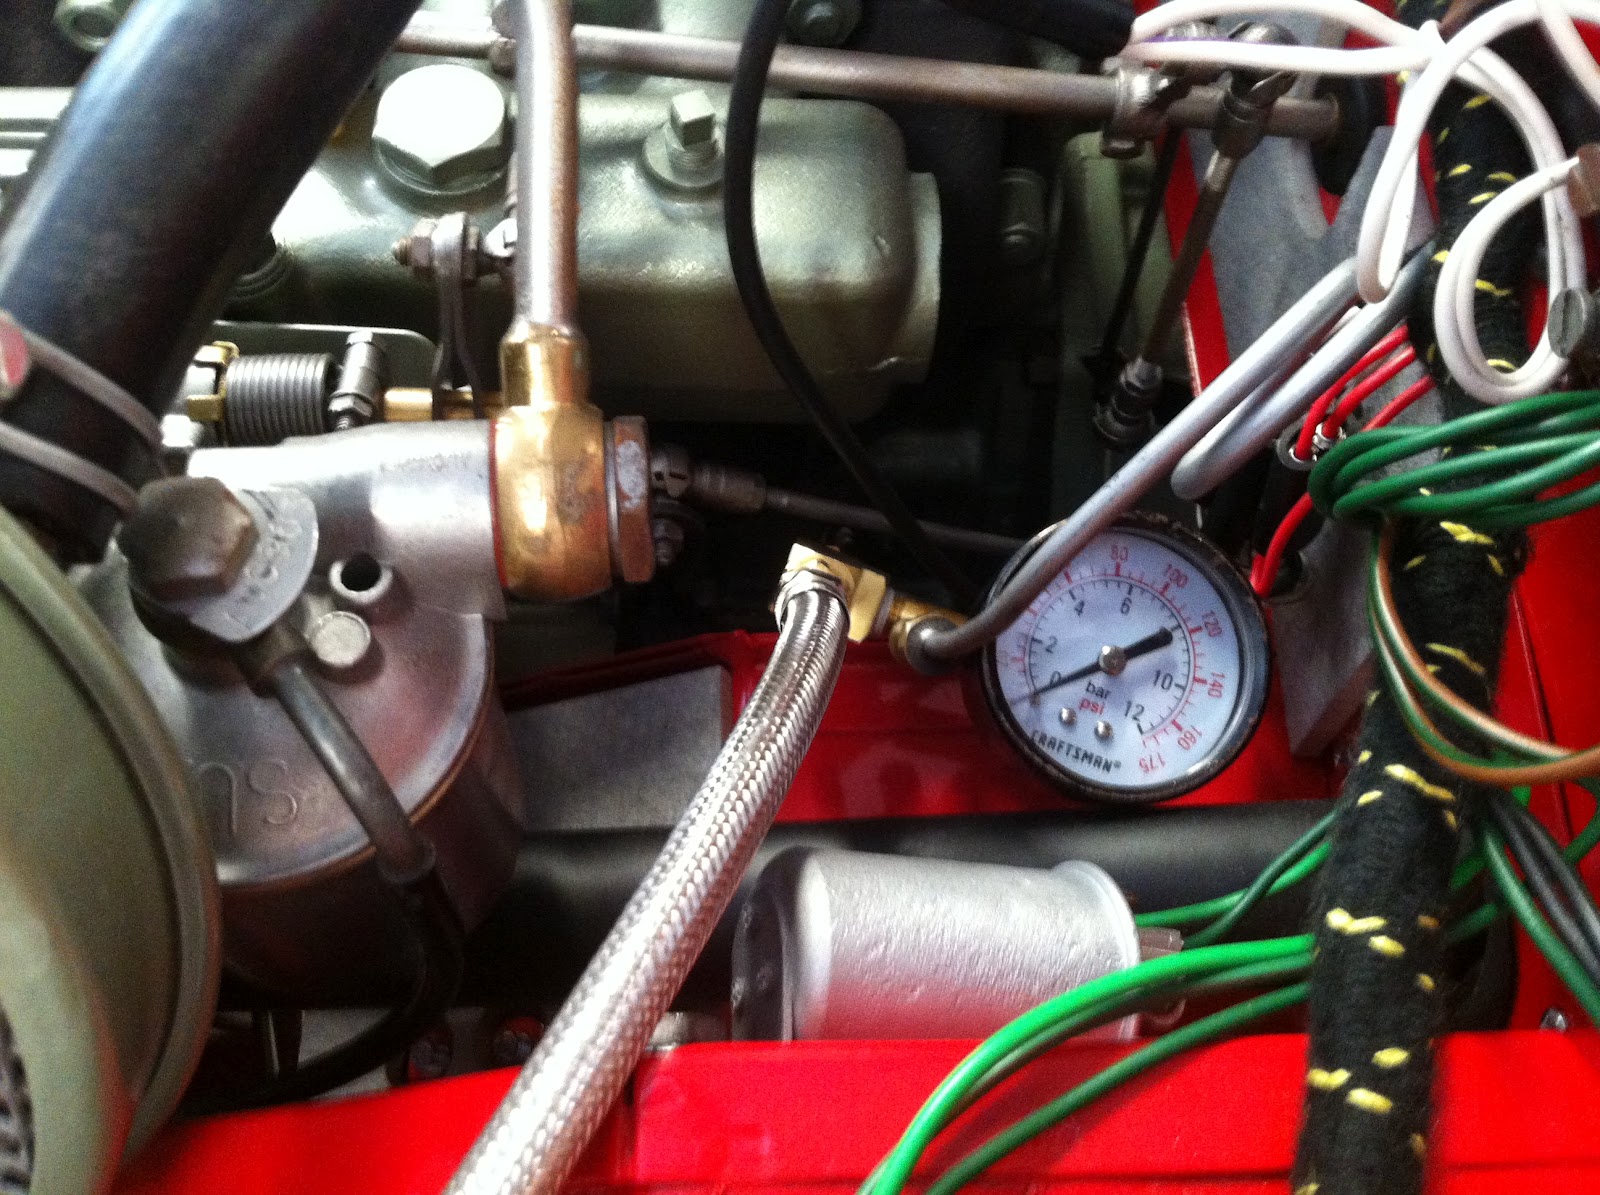
As the body work progresses, Don and I are concentrating on preparing the engine for start-up. We set-up the accumulator, or priming tank this morning. The accumulator is used to pre-oil the engine before it is started for the first time. This greatly reduces the wear on the engine during initial start-up. The engine rebuild was expensive and we must go to great lengths to protect it.
The fuel tank was also addressed today. It was in excellent condition to be 51 years old, but there was a small amount of rust and varnish on the inside. We purchased a fuel tank sealer kit from the Eastwood Company (
eastwood.com). They specialize in automotive restoration materials and equipment.
The sealer was relatively easy to apply. After the tank was cleaned inside with soapy water and etched with acid, the sealer is poured into the tank. Then the sealer is "sloshed" around until every surface inside the tank is coated. After allowing 48 hours to cure properly, the coating becomes impervious to gasoline and alcohol.
Now the fuel system will be free from impurities. As I said, this engine rebuild was expensive; no need to ruin it with trash in the fuel lines.
The tank will be installed and connected to the fuel lines on Wednesday. At that point, we will be ready to fuel the system and check out the fuel pump.
One step closer...
Tom McCurry
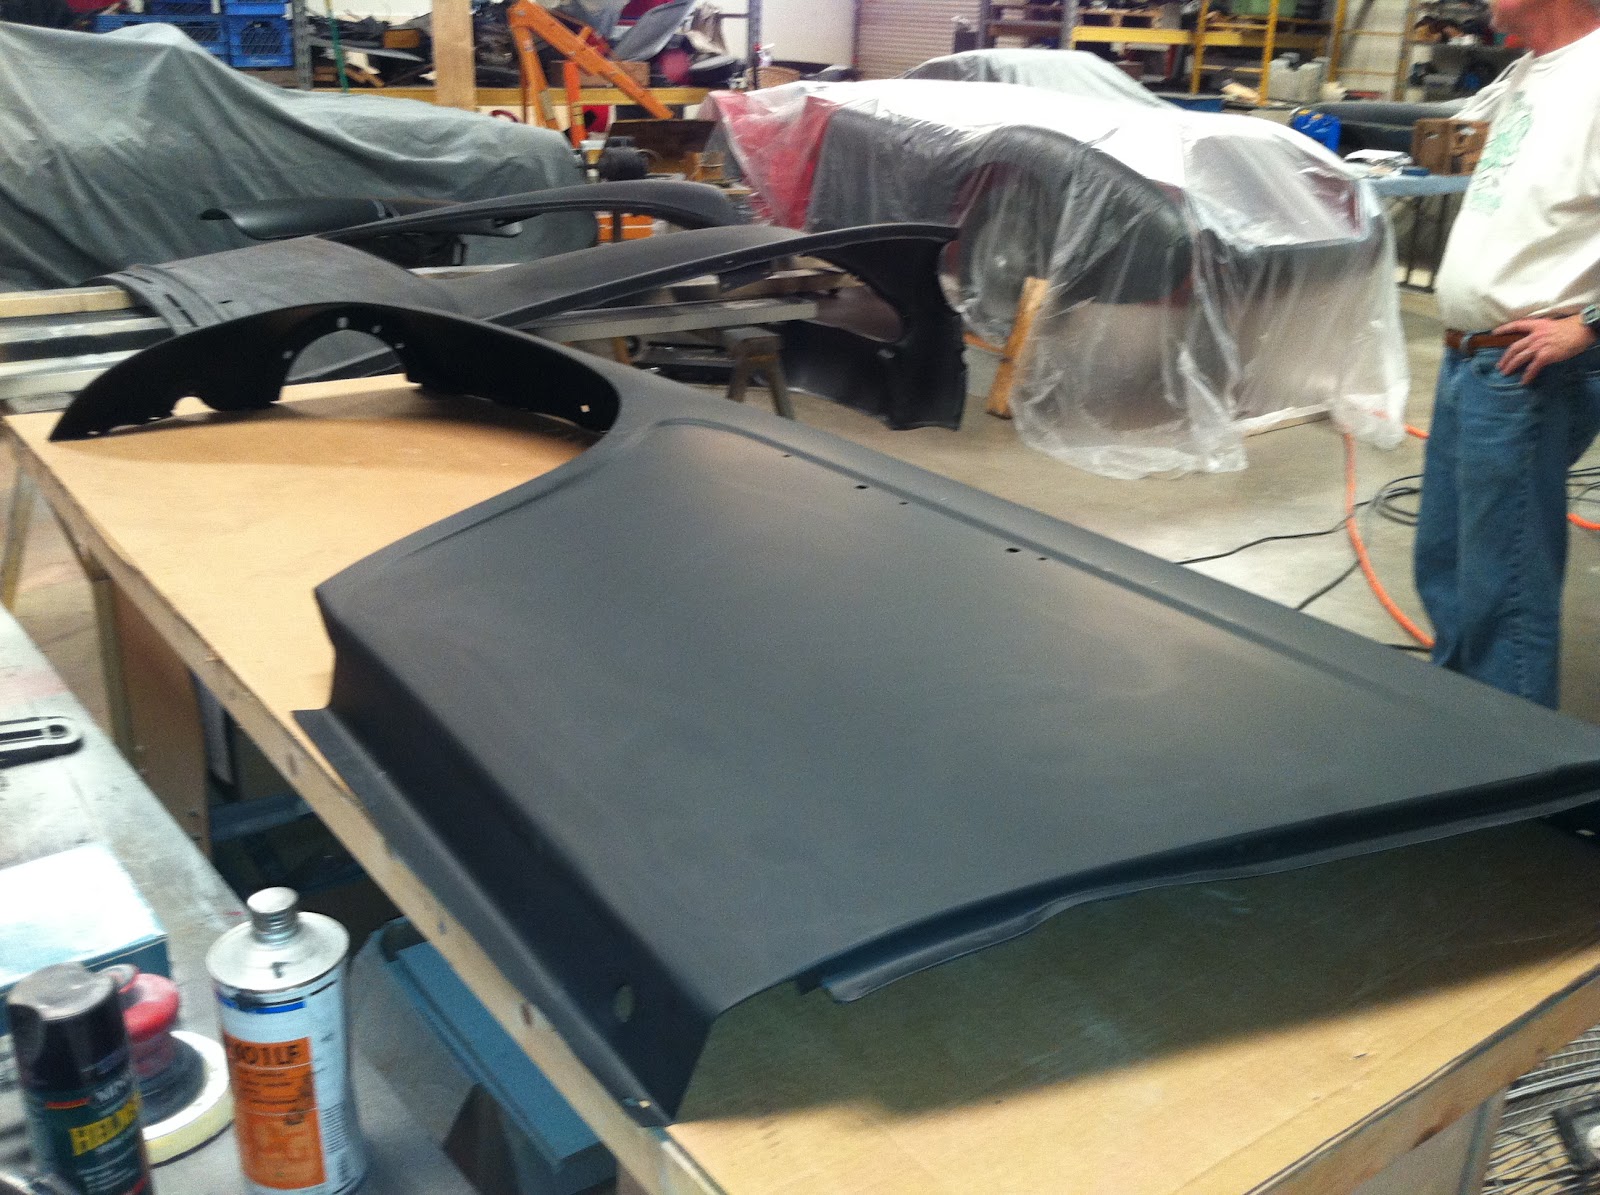
 Finally! I realize the bodywork has been time consuming, but if we fall short on this phase of the restoration, this Healey will not represent the dedication to detail that we have invested.
  All the body panels have been primed, blocked and re-primed. The body panels have been test fitted and the body lines and margins adjusted accordingly. Now we are ready for the final blocking and RED paint.