DEDICATION

This blog is dedicated to the restoration of the Austin Healey 3000...among the most desirable of all British sports cars.

Saturday, June 9, 2012

INSTALLING THE REAR BRAKES AND SHOCKS

 My body wanted me to take the day off but I just can't seem to stay away from this car.  I worked alone today and actually accomplished more than I expected.  The photo to the left shows the installation of the brake shoe adjuster and wheel cylinder.  
 After the operators are fitted, the springs are connected to both shoes.  Then the shoes can be installed simultaneously by fitting one shoe to the cylinder and adjuster.  Next, simply expand the springs to allow connection to the other side of the operators.  The photo to the right shows the completed installation. 

In the background you can see the shock absorber mounted to the frame.  It must be connected to the linkage and the differential before it is bolted in place.  Not at all complicated.  


Now we are ready to install the axles, hubs and brake drums.  Incidentally, the brake drums were originally painted silver, but I think it would enhance the appearance of the new chrome wire wheels if they were painted black.  You can't go wrong with black and chrome.  
 Do you think this looked this good when it was new?

Stay tuned...
Tom McCurry

Friday, June 8, 2012

FITTING THE REAR SUSPENSION

Installing the rear suspension on the Healey was a bit time consuming, but we completed the task late this afternoon.   As you can see, in the photo to the right, pads were placed on the frame to prevent damage from the differential.
Next the leaf springs were fitted to the frame.
After fitting the springs to their mounts, the "U" bolts connecting the leaf springs to the differential are positioned and the spring is compressed with a hydraulic jack.
When the springs are in position, the "U" bolts are tightened. 
We finished the day by fitting the dust shields and brake shoe adjusters to the differential.


This "Big Healey" will be rolling soon.

Y'all come back now...
Tom McCurry


Thursday, June 7, 2012

ASSEMBLING THE FRONT SUSPENSION

Work progressed today on the front suspension.  I was working alone so I didn't accomplish as much as I had intended.  
It is so nice to work on a classic car such as this one and not get your hands dirty.  When all the parts you are handling are either new or reconditioned, it is almost like building a new car.  

In the photo to the left, you will notice that I have used 3/8 inch threaded rod to temporarily attach the spring pan to the "A" arms which compresses the spring. 
Installing coil springs is a dangerous task.  If the threaded rods are not tightened at the same time, there is a risk of the spring exploding from it's housing.  If you are in the path of this projectile...
After the spring pan was  tightened against the "A" arms, I used a "C" clamp to hold the two in place while I replaced the threaded rods with the proper bolts one at a time.  The photo to the left shows the spring in place and fortunately no one was killed in the process.
Following the installation of the springs, I fitted the dust shields, steering arms and caliper mounts.  


Tomorrow, when Don comes in, we will be installing the differential and shock absorbers.  We are close to getting the Healey back on it's "feet".

Love this car...
Tom McCurry

Wednesday, June 6, 2012

WE HAD FUN TODAY

The most rewarding part of the restoration process is reassembling the car.  I had a smile on my face all day.  
Don and I began assembling the front suspension.  The photo to the right shows the installation of the shock absorber.  


We fitted the swivel axle and "A" arms to the shock absorber.  The spring pan, attached to the "A" arms, will be removed when the coil spring is fitted.  


We also prepared the rear suspension parts for installation.  The leaf springs, although new, were not painted properly.  We refinished them to match the paint on the differential.  


The rear leaf spring connectors have been refinished and fitted to the chassis.  Now the differential assembly is ready to be installed on Friday.


Life is good...enjoy the ride.
Tom McCurry

Tuesday, June 5, 2012

READY FOR REASSEMBLY

Today, I completed the paint touch-up work on the chassis.  Now we are ready to install the front and rear suspension systems.  We have refinished all the suspension parts that were in restorable condition.  Also, we have purchased and received all the replacement parts.  Some of the front suspension bushings were missing from the last order but that has been corrected.  We will begin the reassembly of the Healy tomorrow morning.  Photos will follow...


The next time you see this photo, the swivel axles and coil springs will be installed.  Tim and I are excited; are you?


Tom McCurry

Monday, June 4, 2012

PAINT TOUCH-UP

The paint had the weekend to cure and it really looks good.  I found only a few spots that required touch-up.  


We painted so much surface area on this chassis.  It was tedious work.  
These photos represent the application of almost a gallon of finish.  Painting the trunk and interior spaces will require another quart.


Don will be back from a short vacation on Wednesday.  We will begin assembling the front suspension then.  I spent this afternoon sorting out the parts in preparation for Wednesday.

Lookin' good!
Tom McCurry

Saturday, June 2, 2012

BACK IN THE BOOTH

I finally got the car back in the paint booth today.  Paxton helped me move the Healey into the booth early this morning.  Jake, our painter, was on the job shortly after that.  
Don and I had spent a day completing the prep work earlier this week, so we were ready to paint.  
 There is a great deal of surface area to be painted on this car.  All the little "nooks and crannies" associated with the undercarriage were difficult to paint evenly.  It requires an experienced painter.  


Painting the engine compartment was equally as difficult.  The rotisserie made the repair and painting process so much easier and the quality of work speaks for itself. 
This Healey has a much better paint job on it now than it did when it was new.  


Now we will begin installing the front and rear suspensions.  After we have the car on its wheels, we will set the engine and transmission in place.  This week it will begin to resemble an Austin Healy 3000 once again.

Excited...
Tom McCurry

Wednesday, May 30, 2012

PREPPING FOR PAINT...AGAIN

I have scheduled the paint booth for Saturday...again.  Last week's problems have been solved and once again we are good to go.  
After rebuilding the generator, starter and distributor to original specifications, we refinished the housings.  They are now ready to be attached to the engine.  

Stay tuned...
Tom McCurry 

Sunday, May 27, 2012

PAINTING THE CHASSIS

Saturday morning we moved the Healey into the paint booth.  We spent over an hour cleaning the chassis.  A final coat of epoxy primer was applied to the entire chassis. Next the lacquer was to be applied.  


Jake, our painter, began to apply the lacquer and had a problem with the paint gun.  We completed the cockpit of the car and after inspecting the finish, decided to suspend the process.  
If the paint store is open on Monday, Memorial Day, I will buy a new gun and resume painting as soon as possible.


Hope Tim likes RED...
Tom McCurry


Friday, May 25, 2012

PAINTING THE CHASSIS TOMORROW MORNING

Well, it's finally here.  Tomorrow morning at 7 am we will be moving the Healey into the paint booth.  I spent the last two days sanding and applying seam sealer.  My fingers hurt.  
Every square inch of this car was "scuffed" to prepare it for the application of sealer and finish paint.


Seam sealer was applied between the frame rails and floor pans.  This will prevent water and dirt from being trapped there and greatly reduces the chances of rusting.  


The photo to the right shows the last of the patches that were welded in place today.  It was necessary to cut a small hole in each front wheel house in order to apply POR 15 to the inner rockers.  The inner rockers are now sealed inside and outside.  


Tomorrow morning it will be RED...
Tom McCurry


Wednesday, May 23, 2012

PREPARING FOR THE WEEKEND

If things go as planned, we will be painting the chassis on Saturday.  I am so excited!  I spent the day touching up the seam sealer and spraying the inside of the rockers with POR 15.  POR 15 is a rust preventative paint that encapsulates metal to prevent rusting.  There are so many areas on this car that are susceptible to rust.  Now that the POR is applied, the risk of further decay is drastically reduced.  Tomorrow I will be touching up primer and cleaning the surfaces to be painted.

Sorry, no pictures today...
Tom McCurry

Monday, May 21, 2012

TRANSMISSION IS IN PLACE


Have I told you lately how much I love this car?  Duh!  I am getting so excited.   We will be painting the chassis this weekend.  It will be RED...FINALLY!

Anyway, Don and I connected the transmission today.  In the past, aligning the transmission has been somewhat of a chore, but this almost fell together.  We were so impressed with our ability.  


After the bolts were started, Don tightened them to the proper torque setting in diametrically opposed sequence.  I finished the day installing the new slave cylinder and painting a few more small parts.


More to come tomorrow!
Tom McCurry

Sunday, May 20, 2012

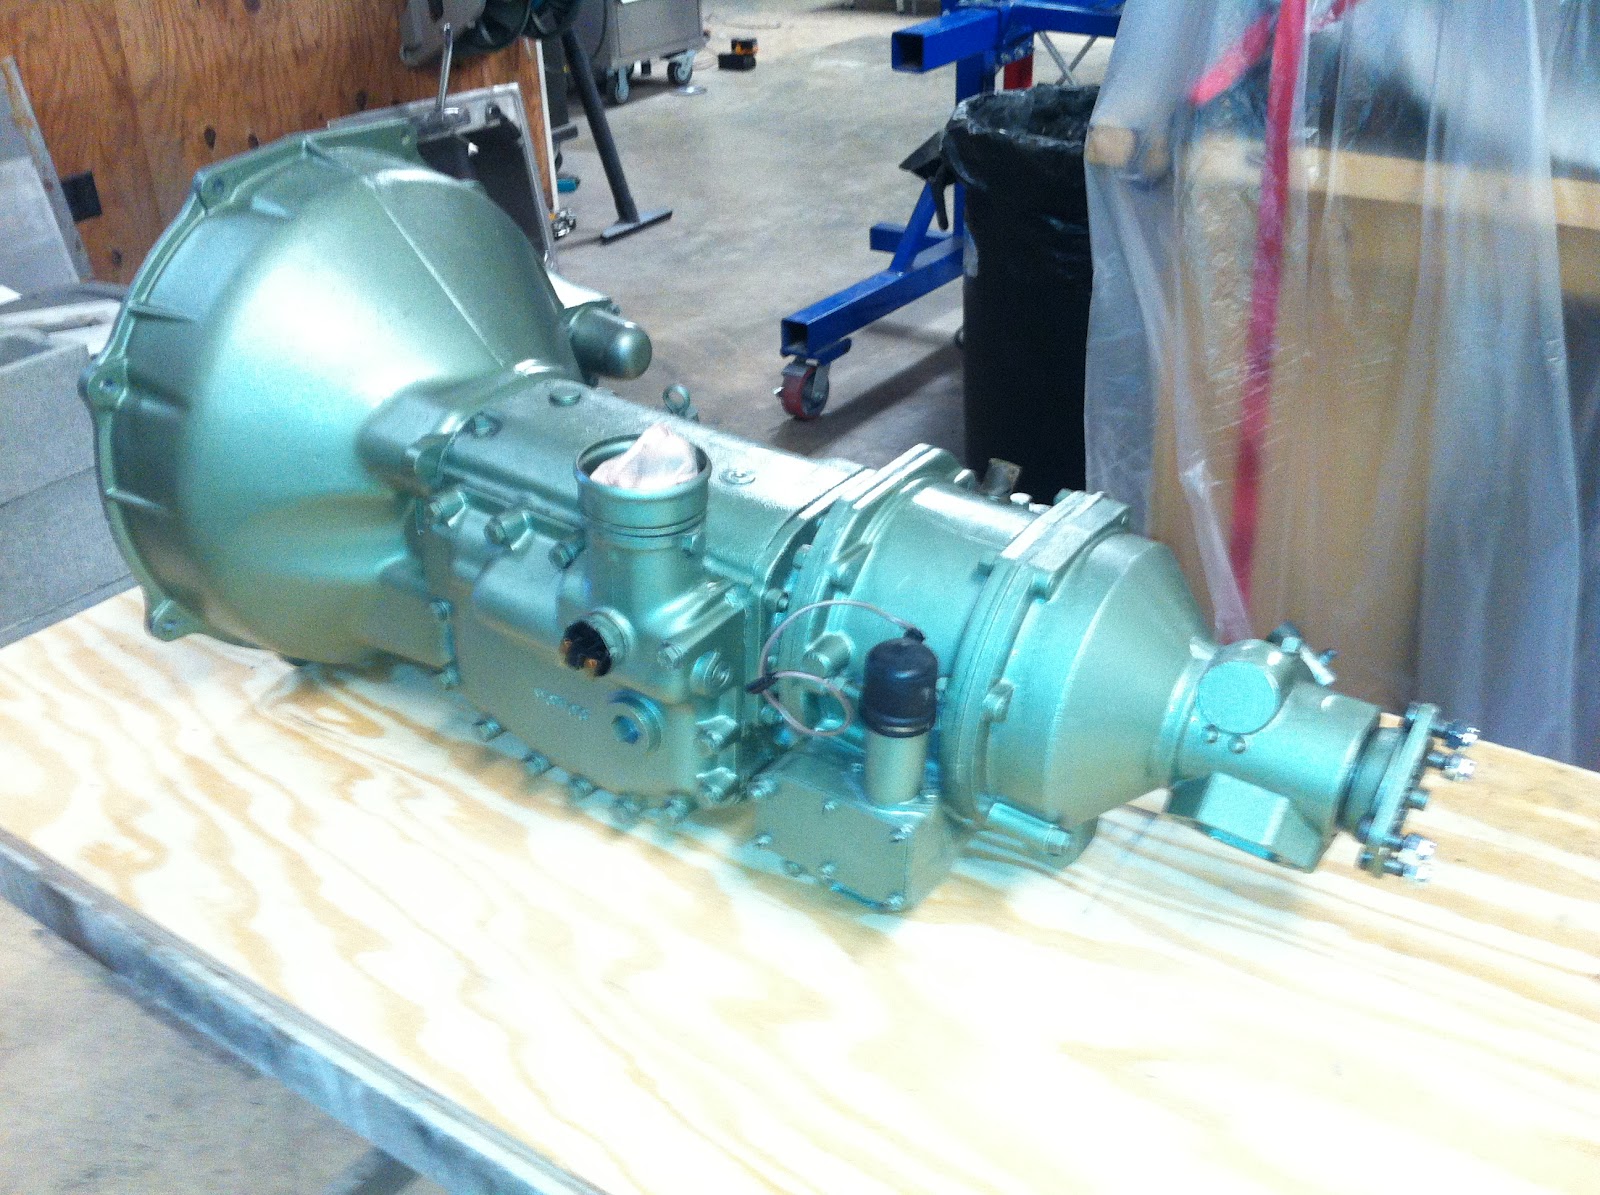
TRANSMISSION READY TO INSTALL


I spent a couple of hours yesterday preparing the transmission for attachment to the engine.  The fasteners for the drive shaft universal joint were cleaned and fitted with new nyloc nuts.


The photo to the left shows the installation of the new throwout bearing.  Tomorrow morning, we put it together.  


Love this car...
Tom McCurry                                                                                                                     
                                                                                                                                      

Friday, May 18, 2012

FITTING THE CLUTCH ASSEMBLY

Yesterday, I received the pilot shaft from Moss Motors.  This morning, I fitted the clutch assembly to the engine.  All the necessary parts are inspected and staged.


First the plastic pilot shaft and the clutch disc are positioned on the flywheel.  A small amount of bearing grease is applied to the pilot shaft prior to inserting it in the engine.


 Next the pressure plate assembly is fitted to the indexing pins on the flywheel and the six bolts are hand tightened.
Now, the bolts can be torqued to 25 foot pounds.  The manual calls for the torque setting in inch pounds.  Convert inch pounds to foot pounds by dividing by 12.  Begin by tightening the bolts a half turn at a time in diametrically opposed sequence.


 Now that the pressure plate is bolted in position and torqued the pilot shaft may be removed.
Now the clutch assembly is properly installed.  The transmission will be fitted to the engine on Monday morning.


Stay tuned,
Tom McCurry